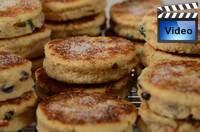
There are
two ways to pronounce scone; "Skon" and "Skoan". Scones are believed to have originated in Scotland and
are closely related to the griddle baked flatbread, known as bannock.
They were first made with oats, shaped into a large round, scored into
four to six triangles, and cooked on a griddle either over an open fire
or on top of the stove.
The origin
of the name 'scone' is just as unclear as where it came from. Some say the name comes from where the Kings of
Scotland were crowned, the Stone (Scone) of Destiny. Others
believe the name is derived from the Dutch word "schoonbrood"
("schoon" meaning clean and "brood" meaning bread), or from the German word "schonbrot"
meaning 'fine or beautiful bread'. Still others say it comes
from the Gaelic 'sgonn' a shapeless mass or large mouthful.
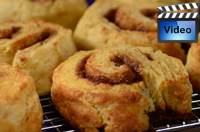
This
small cake is a quick bread, similar to an American biscuit, made of
wheat flour (white or wholemeal), sugar, baking powder/baking soda,
butter, milk (whole, half and half, light cream, heavy
cream, buttermilk, yogurt, etc.), and sometimes eggs. This
produces a soft and sticky dough that has the ratio one part
liquid to three parts wheat flour. It needs to be baked in a
moderate to hot oven so the dough sets quickly thereby
producing a light scone with a light to golden brown floury
top and bottom with white sides. The texture of the interior
of the scone should be light and soft, and white in color.
The correct
mixing of the ingredients is crucial in producing an excellent
scone. Although you can use an electric mixer I prefer to mix
the dough by hand using either a pastry blender, two knives or
just your fingertips. Mixing by hand helps to prevent over
mixing of the dough. To begin, the dry ingredients (flour,
sugar, baking powder/baking soda, and salt) are whisked together in
a large bowl. Next the butter is cut into the flour until it
looks like coarse crumbs. It is important that the butter be
cold so when it is worked into the flour mixture it becomes
small, flour- coated crumbs, not a smooth dough. This method
is similar to how a
pie dough is made and gives the scone a wonderful delicate and flaky
texture. This is the point where any dried or fresh fruit,
nuts, zests, and other flavorings you may be using are added.
The wet ingredients are then mixed together separately and then
added to the flour mixture. Only mix the dough until it comes
together. I cannot stress enough that this dough should not be
overworked and that a light hand is needed. The test will be
in the results. If you end up with a hard and doughy scone,
you will know to mix the dough less the next time you make them.
When the
dough is mixed, gather it up in your hands and place on a lightly
floured surface. Knead the dough a few times to make it a
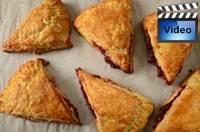
cohesive mass and then roll or pat it into a 7 inch (18 cm) round
that is about 1 inch (2.54 cm) high. You can cut the scone
dough into 6 to 8 triangles or else use a lightly floured
cookie cutter and cut into rounds. Place on a parchment paper
lined baking sheet and brush with an egg wash, if desired.
Using an egg wash
gives the scone a nice appearance and helps with browning. Scones that are placed close together, that is almost touching, will
have soft sides and their crusts will be less crispy. If you
place them further apart the scones will be crusty all over. The scones are done when they are nicely browned and a toothpick
inserted in the center of the scone comes out clean. Cool on a
wire rack. If you want crusty scones, cool them uncovered.
If a softer crust is desired, then wrap the hot scones in a clean
dish towel. Scones are best served warm.
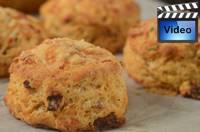
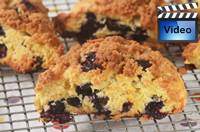
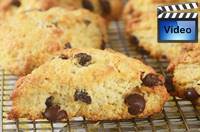
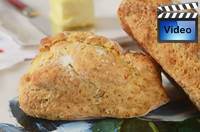
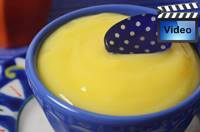
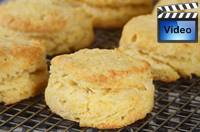
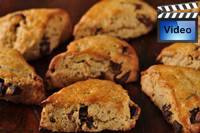
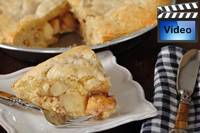
Plain scones
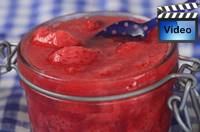
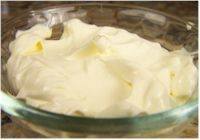
are traditionally served warm, split open, and topped with butter,
jam or preserves,
clotted
cream, and/or lemon curd.
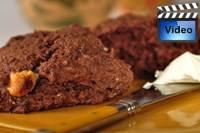
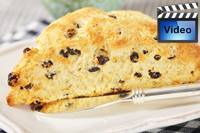
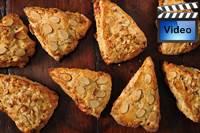
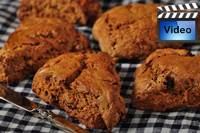
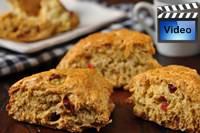
However, many of the scone recipes today that are flavored with
fruits, spices, nuts, zests are best eaten plain.
Note: Can use
light cream, half-and-half or milk instead of heavy whipping cream for a
lighter scone.
Note: If you find the bottoms of the scones are browning too
much during baking, use two sheets pans (place one pan inside another).
Note: Using buttermilk, instead of heavy cream, makes a
lighter, more bread-like scone. They are baked at a higher
than normal oven temperature which gives them a darker, crispier
crust. Buttermilk has a nice thick creamy texture with a rich
tangy buttery taste that makes baked goods tender. It is now
commercially made by adding a bacteria to whole, skim, or low fat
milk. However, in the past it was the liquid left over after
churning butter. You can make your own by adding 1 tablespoon
of white distilled vinegar, cider vinegar, or lemon juice to 1 cup
of milk. Let stand 5 to 10 minutes before using.