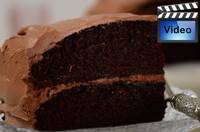
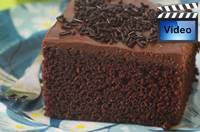
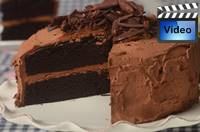
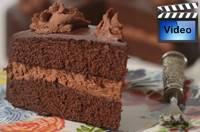
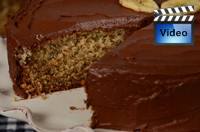
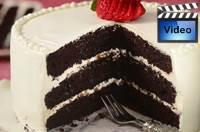
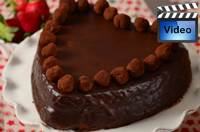
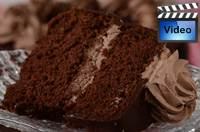
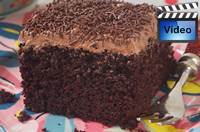
A chocolate layer cake that is
so simple to make yet is wonderfully moist with a lovely chocolate flavor.
We fill and frost it with a delicious chocolate fudge frosting.
more
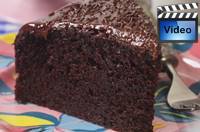
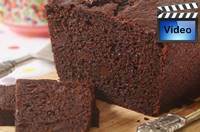
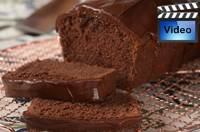
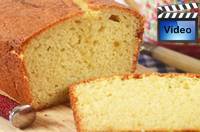
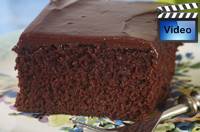
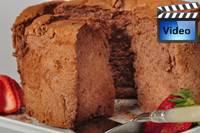
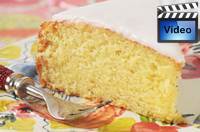
This Chocolate Yogurt Pound Cake has a wonderfully dense yet
moist texture and a pleasing chocolate flavor.
more
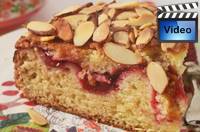
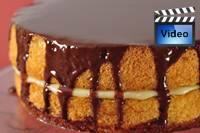
This cake has two layers of an almond flavored butter cake, sandwiched together
with sweet red cherries, and topped with sliced almonds.
more
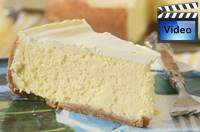
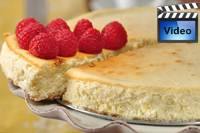
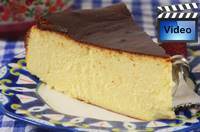
New
York Style Cheesecakes are creamy, and smooth, and rich, and dense, and
absolutely delicious. It has a graham cracker crust.
more
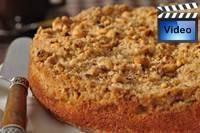
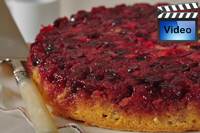
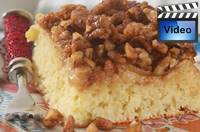
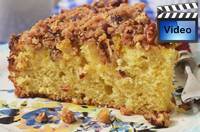
This rustic looking
gingerbread cake tastes spicy sweet and is topped with caramelized apple slices and a sprinkling of
nuts. more
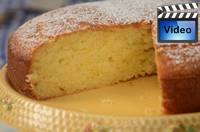
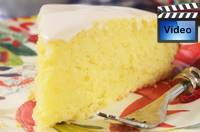
A dense and moist white
cake that tastes of almonds, lemon, and vanilla. Easy to make. Enjoy it
plain, with cream and fresh fruit, or with a lemon glaze.
more
Watch the
latest Cake Videos
Catch up on all the latest cake videos
by clicking
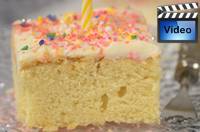
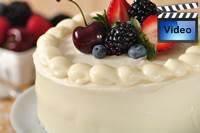
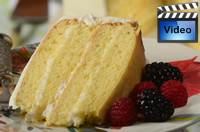
You'll love this moist and flavorful Vanilla
Butter Cake frosted with a tangy sweet Cream Cheese Frosting. Perfect
for any occasion. more
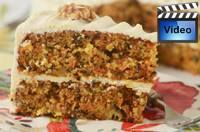
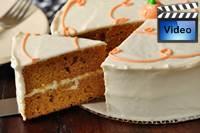
This Carrot Cake is moist and
flavorful with grated carrots and is covered with a delicious cream cheese
frosting. more
This Vanilla Cake has a sweet buttery flavor
and
a moist velvety texture. The buttercream frosting
used to both fill and frost the cake has a sweet and buttery flavor with
a light and fluffy texture. more
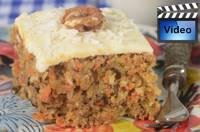
A delicious cake full of grated carrot, chopped nuts, dried coconut, and
crushed pineapple. It is especially good covered with a cream cheese
frosting. more
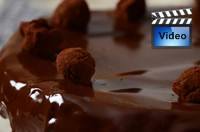
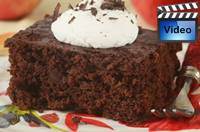
This single layered
chocolate cake has a moist and tender crumb with a rich and creamy
chocolate Ganache frosting. more
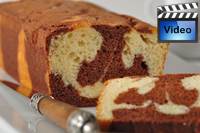
This moist cake
has swirls of white and chocolate cake, and is frosted with
a creamy smooth Chocolate Ganache.
more
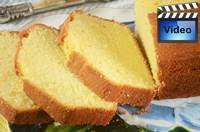
This cake has a wonderfully dense, yet soft and moist
texture, with a deliciously sweet vanilla flavor.
more
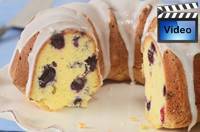
This buttery rich, dense
and moist Blueberry Pound Cake is full of fresh blueberries. I like to
pour a tangy lemon glaze over the top of the cake.
more
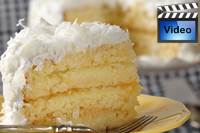
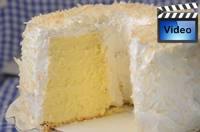
This cake consists of layers
of moist coconut-flavored butter cake that are filled with a tangy lemon
curd and then the cake is frosted with a shiny
7-Minute Frosting and sweetened coconut. more
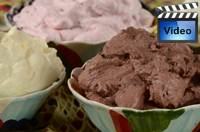
This recipe makes the
perfect whipped cream frosting that will keep in the refrigerator
several hours without separating.
more
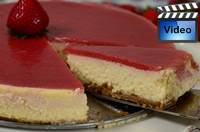
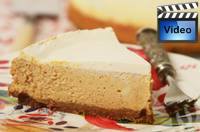
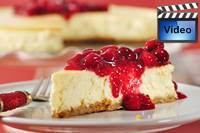
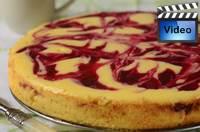
This delicious New York
style cheesecake has a graham cracker crust with a top layer of
strawberry sauce set with gelatin.
more
This Chocolate Banana Cake
is moist and flavorful with
sweet mashed bananas and chocolate. It is frosted with a
delicious Ganache made with cream and dark chocolate.
more
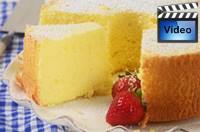
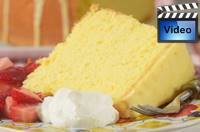
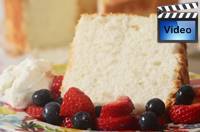
This American Sponge Cake
has a sweet and lemony flavor and while its texture is moist, it is also
wonderfully light and spongy. It does not contain solid fat. This cake
can be eaten plain, or with whipped cream and fresh fruit.
more
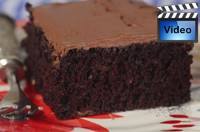
Try this American
classic. It's dense and moist with a soft and tender crumb. It's made
even more chocolately with a delicious chocolate fudge frosting.
more
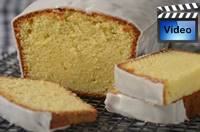
A simple pound-like
cake that has a wonderful citrus flavor that comes from adding both
lemon zest and juice to the batter. A lemon glaze finishes this cake off
nicely.
more
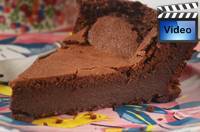
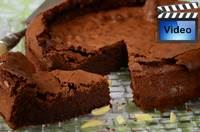
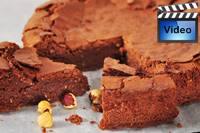
Chocolate Torte with
its broken and cracked surface has a buttery rich chocolate flavor, with a
soft and moist texture.
more
This is a deliciously moist
chocolate sponge cake that melts in your mouth. Can be filled with
plain, chocolate, or raspberry whipped cream. more
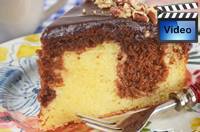
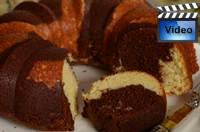
This pretty butter cake
is a combination of white and chocolate batter that are swirled together
just before baking to give that wonderful marbled affect.
more
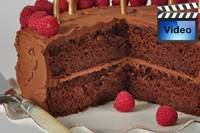
This beautiful
Chocolate Butter Cake has two layers of moist and tender chocolate
butter cake sandwiched together and frosted with a delicious chocolate
frosting. more
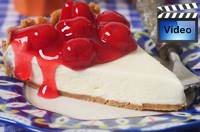
A No Bake Cheesecake
combines a graham cracker crust with a light and creamy no-bake
cheesecake filling. The finishing touch is a sweet cherry topping.
more
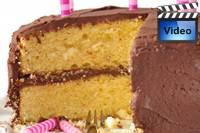
This Yellow Butter Cake
has two moist and buttery cake layers that are filled and frosted with a
delicious chocolate frosting. more
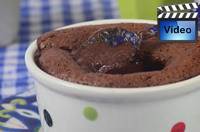
Molten Chocolate Cakes
have a rich chocolate flavor with a pudding-like center that is dense
and moist. Delicious hot or cold. more
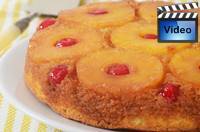
A Pineapple Upside Down Cake
consists of lovely caramelized slices of pineapple and a buttery white
cake. more
This White Butter Cake
has a sweet and buttery flavor and a light and fluffy texture. A layer
of jam is placed between the cake layers and it is also filled and
frosted with a delicious cream cheese frosting. more
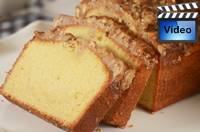
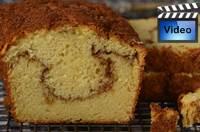
Try this moist
and tender butter cake with its delicious cinnamon sugar
topping and filling.
more
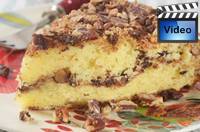
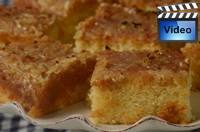
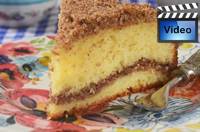
This Coffee Cake is rich and buttery
with a soft and moist texture. The crumb topping and filling is a
delicious mixture of toasted
nuts, chocolate chips, ground cinnamon and brown sugar.
more
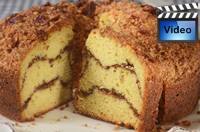
A rich and moist butter cake
that is filled and topped with a delicious Streusel made with toasted
pecans, ground cinnamon, and sugar.
more
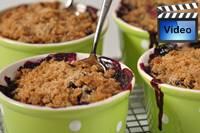
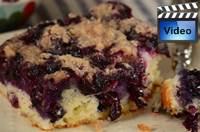
A Blueberry Buckle has soft
and sweet blueberries that are sandwiched between a layer of white cake
and a cinnamon flavored streusel. more
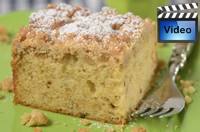
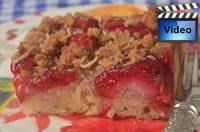
This Apple Streusel Cake is
a delicious combination of butter cake, sliced apples, and a cinnamon
flavored streusel. more
Ricotta and cream
cheese are used in this cheesecake which makes it both light and fluffy
and soft and creamy. Delicious with the cranberry-raspberry sauce.
more
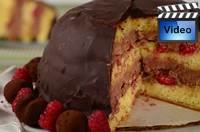
A stunning cake. Three
layers of sponge, soaked with an orange syrup, filled with chocolate
mousse and fresh raspberries. The finishing touch is that the cake is
covered with chocolate ganache.
more
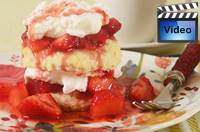
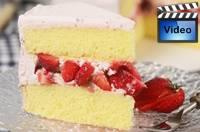
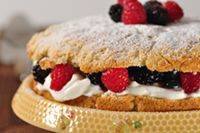
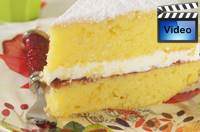
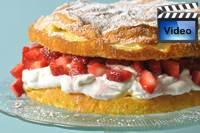
Two delicious
layers of Vanilla Genoise, soaked with a lemon syrup,
sandwiched together with whipped cream and fresh
strawberries, and frosted with a Strawberry Whipped Cream.
more
This pretty cake has two
layers of chocolate sponge.
The layers are sandwiched together with raspberry jam and a rich and
creamy chocolate mousse. Frosted with a shiny chocolate ganache and
swirls of chocolate mousse.
more
This Ricotta Cheesecake
uses both ricotta
cheese and cream cheese to produce a cheesecake that is creamy smooth yet
wonderfully light and fluffy. more
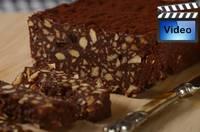
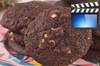
This cake is like making your own chocolate bar. Besides
being delicious, it is appealing because there is no baking
involved and it contains just four ingredients; chocolate, butter, nuts,
and digestive biscuits. more
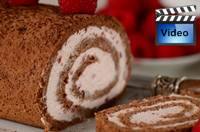
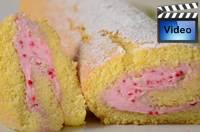
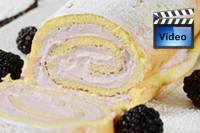
This Jelly Roll recipe
takes a thin sheet of a soft and tender sponge cake, spreads it
with a layer of raspberry whipped cream, and then it's rolled up.
more
This delicious Blackberry
Coffee Cake has a thin layer of white butter cake, a delicious layer of
cream cheese filling, fresh blackberries, and a layer of crunchy
streusel. Absolutely delicious.
more
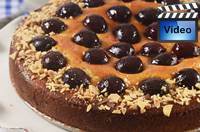
A Black Forest Cake is a delicious
combination of chocolate cake, Kirsch soaked Morello cherries, and loads of
whipped cream. more
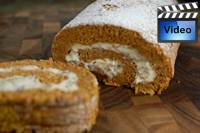
This lovely Pumpkin Roll
consists of sweet and moist pumpkin sponge roll wrapped around a tangy
cream cheese filling. more
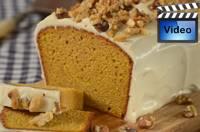
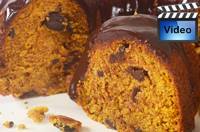
I particularly enjoy this
honey colored Pumpkin Cake with its shiny chocolate glaze. This cake is
full of flavor and keeps fresh for days, thanks to the pumpkin puree and
oil. more
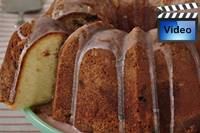
This Lemon Cranberry Pound
Cake has a rich and buttery lemon flavor and is stubbed with lemon and
brandy-laced dried cranberries. The finishing touch is a lemon glaze. more
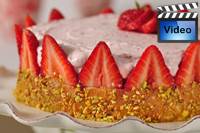
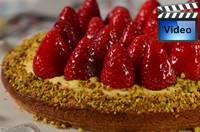
A Strawberry Charlotte
takes fresh strawberries, cuts them in half. and places them on top of a
sponge cake. A lovely strawberry cream filling completes this cake.more
This Cherry Cake has a
lovely golden brown crust and some of the fresh sweet cherries are
folded into the batter and some are placed on top to give it a wonderful
polka dot design.
more
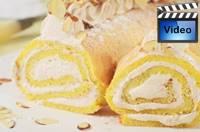
This Almond Sponge Roll has a pinwheel design, with a soft,
melt-in-your-mouth texture. I love this cake's subtle almond flavor
which goes beautifully with raspberry flavored whipped cream.
more
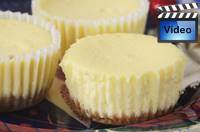
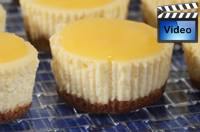
Each individual Lemon Cheesecake
has a New York style cheesecake filling that is set in a graham cracker
crust and topped with a layer of lemon curd.
more
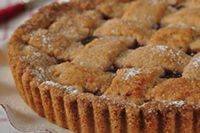
Linzertorte originated in
Linz, Austria and is very distinctive looking with its beautiful golden
brown crust, filled with ruby red preserves peeking through the pretty
lattice design. more
Cranberry Swirl Cheesecake
combines two favorites, a New York Style Cheesecake and ruby red
cranberry sauce.
more
This Orange Chiffon
Cake has the flavor of oranges with a wonderful light and spongy
texture.
It has a moist and tender crumb and that keeps the cake soft even when
refrigerated. more
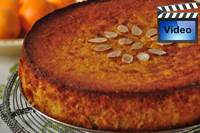
This Clementine Torte
contains whole cooked Clementines, peel and all.
It is dense and moist, flavored with the oranges, ground almonds, eggs,
and sugar. No butter or oil is needed.more
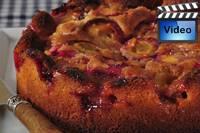
This moist almond flavored
Plum Coffee Cake is topped with Italian Prune Plums that after baking become soft
with lovely caramelized edges.
more
A Cranberry Upside Down Cake
consists of lovely caramelized ruby red cranberries and a buttery white
cake. more
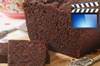
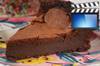
A
rich chocolate flavored
cake that has a wonderfully dense, yet soft and moist texture. Delicious
covered with a creamy Chocolate Ganache.
more
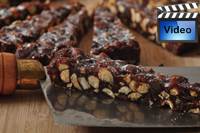
Bite into a slice of
Panforte and you may be surprised to find how chewy it is. This chewy
texture comes from mixing the fruit, nuts, spices, and flour with a
boiled syrup made from sugar and honey. more
Ground almonds are used
instead of flour, which adds a subtle almond flavor to this dense and moist
Chocolate Almond Torte that has an intense chocolate
flavor. more
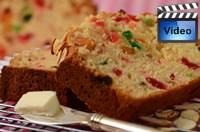
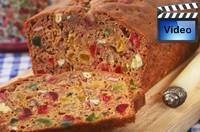
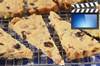
A delicious Fruit Cake with a
delicate almond flavor that is full of candied and dried fruit..
more
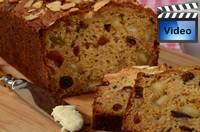
Buttermilk Fruit Cake is
wonderfully moist and buttery and it is loaded with aromatic spices,
dates, raisins, and currants. more
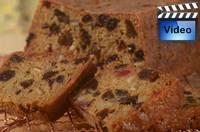
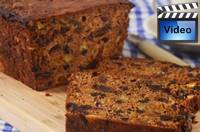
A moist and flavorful
Fruit Cake that soaks the dried fruit in tea, not alcohol. It also
contains candied fruit peel and chopped nuts and is spiced with ground
cinnamon, nutmeg, and ginger.
more
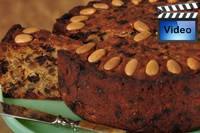
Fruit
cake is the traditional British Christmas Cake that is full of fruit
and nuts, laced with alcohol (usually brandy), and sometimes covered with
marzipan and royal icing. more
This Easy (Boiled) Fruit Cake is a
much simpler version of the traditional British fruit cake. It contains
all the necessary ingredients, like candied and dried fruits, yet it is
so very easy to make.
more
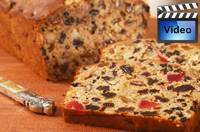
This moist fruit cake
is loaded with
nuts and candied and dried fruits. It is also flavored with ground
spices and molasses. After baking it is brushed with alcohol which
imparts a wonderful flavor. more
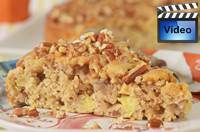
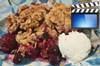
An Apple Cake is the
perfect Fall dessert, with its chunks of apples and pecans, along with
plump and juicy raisins, all wrapped in a cinnamon-laced batter.
more
This is a moist and
flavorful fruit cake that is studded with chunks of sweet almond
flavored marzipan.
more
This Blueberry Cake is
bursting with soft and sweet blueberries that are sandwiched between a
layer of cake and a cinnamon flavored streusel.
more
I love this Angel Food
Cake's lovely chocolate brown color and its uneven and ragged
appearance. It has an airy lightness and a subtle chocolate flavor.more
This Sponge Cake (Jelly
Roll) has a beautiful pinwheel design and is filled with a delicious
raspberry flavored cream. more.
A rich butter cake
flavored with coffee that is filled and frosted with a smooth and creamy
coffee flavored frosting.
more
This Banana Cake is tender and
moist with the sweet flavor of bananas. It is frosted with creamy smooth
Chocolate Fudge Frosting. more
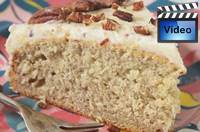
This Hummingbird Cake is
moist and flavorful with chopped pecans, crushed pineapple, and mashed
bananas. It is frosted with a delicious cream cheese frosting.
more
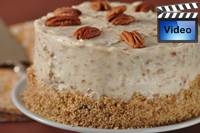
A buttery, soft
and tender cake with a sweet banana flavor that is covered
with a delicious pecan cream cheese frosting.
more
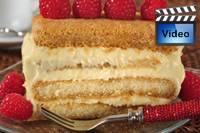
Tiramisu is made by layering ladyfingers, that have been soaked in
espresso and spirits, with a rich
custard. more
Three layers of
moist chocolate cake sandwiched together with Dulce de Leche
and a buttery smooth Swiss Buttercream Frosting.
more
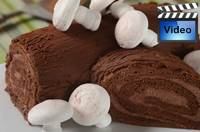
A Yule Log takes a chocolate
sponge cake, fills it with chocolate whipped cream, rolls it into a log
shape, and then it's covered with chocolate ganache,
more
This meringue cake, with its
unusual soft sweet marshmallow center and crisp crust is produced by
folding a little vinegar and cornstarch into stiffly beaten egg whites. more
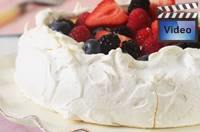
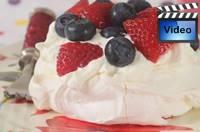
These individual Pavlovas
have a crisp outside crust and a wonderfully soft and sweet marshmallow
center. Delicious with softly whipped cream and fresh fruit.
more
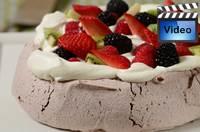
A Chocolate Pavlova is
similar to a regular Pavlova only it has cocoa powder and chunks of semi
sweet chocolate. This gives it a wonderful chocolate flavor and color.
Lovely served with whipped cream and fresh raspberries.
more
Chocolate is about pleasure
and what could be more pleasurable than a chocolate chiffon cake that is
filled with chocolate whipped cream and then covered with a layer of
shiny chocolate ganache. more
Angel Food Cake has a sweet
golden brown crust and a soft and spongy, snowy white interior.
more
Boston Cream Pie consists of
either a white sponge cake that has been split in half and filled
with pastry cream. A chocolate glaze is then poured over the top of the
cake and allowed to drip down the sides. more
You will
love this soft and tender vanilla white cake that is covered
with crunchy bits of caramelized almonds.
more
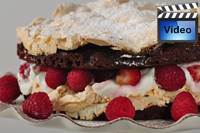
This Chocolate Meringue Cake
is very impressive looking with its two layers of sponge cake and
meringue sandwiched together with whipped cream and crushed raspberries.
more
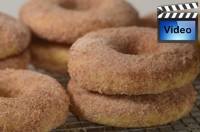
You'll want to
try these soft and tender cake doughnuts, coated with a
cinnamon sugar, that are baked, not deep fried.
more
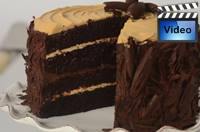
A cake that's sure to
please. Four layers of chocolate cake sandwiched together and frosted with
both a peanut butter frosting and chocolate ganache. Yum.
more
Moist and chocolately this
Chocolate Chiffon Cake is filled with a mocha cream and frosted with a
rich and glossy chocolate glaze.
more
A Lazy
Daisy Cake is composed of a soft and fluffy textured Hot Milk Sponge
Cake that is topped with a crispy caramel flavored Broiled Frosting.
more
Also known as a Strawberry
Buckle. This cake has a layer of fluffy white butter cake, followed by a
layer of fresh strawberries, topped with a crunchy Graham Cracker Crumb
streusel. more
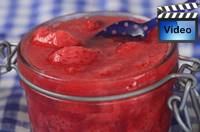
Just three ingredients
(fresh strawberries, sugar, and lemon juice) are needed to make this
delicious Strawberry Compote (stewed fruit).
more
Learn how to transform
a moist and flavorful Simple Vanilla Cake into an elegant multi-layer
cake with cream cheese frosting.
more
Cake Pops
are cake crumbs mixed with frosting,
formed into balls, and covered with a crisp outer shell of colorful candy
coating. more
A cake with a deep chocolate
flavor. The surprise ingredient is shredded apple which gives the cake a
texture that is moist and dense, almost brownie-like.
more
Two layers of light and airy chiffon cake sandwiched
together with a delicious Strawberry Compote and lots of whipped cream.
more
This Chocolate
Hazelnut Torte is buttery rich with the flavors of hazelnuts
and chocolate. It has a wonderfully soft and moist
texture.
more
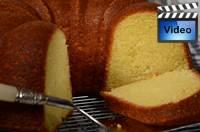
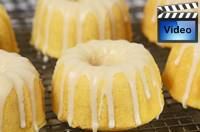
These bundt cakes are
buttery sweet with a texture that is wonderfully dense and moist. The
cakes are frosted with a delicious Vanilla Glaze.
more
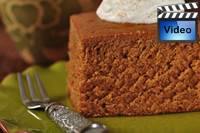
This moist and buttery
Gingerbread Cake is flavored with ground cinnamon, ginger, cloves and
molasses. It can be eaten plain or covered in a lemony frosting. more
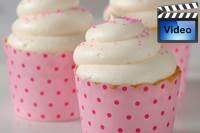
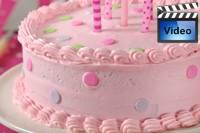
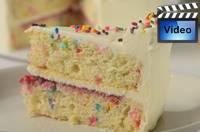
This celebration cake folds
candy sprinkles into a fluffy white butter cake and then it's filled and
frosted with a tangy sweet cream cheese frosting.
more
Royal Icing is a pure white
icing that dries to a smooth, hard, matte finish. Besides its lovely
finish it also colors beautifully and it is used as a frosting for cakes
and cookies and also for intricate piping of decorations.
more
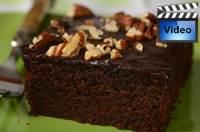
This Southern cake
does contain Coca-Cola both in the cake and frosting. It consists of a
moist chocolate cake covered with a fudgy frosting and chopped pecans.
more
Berry Shortcake is composed
of a large scone that is cut in half horizontally and filled with
whipped cream and lightly sweetened berries.
more
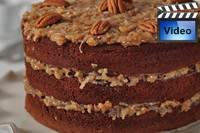
This beautiful German
Chocolate Cake has three moist layers of chocolate cake, with a sweet
and gooey caramel frosting, laced with coconut and pecans.
more
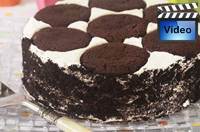
This delicious No Bake Cake has
5 layers of homemade Chocolate Wafers topped with 5 layers of luscious
whipped cream. more
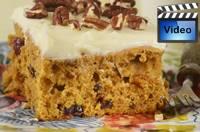
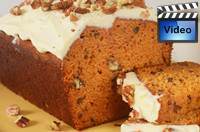
A buttery moist cake flavored with pumpkin, dried
cranberries, toasted pecans, and aromatic spices. Excellent plain, but even
better with a Cream Cheese Frosting.
more
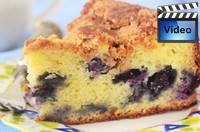
A wonderfully soft and moist cake bursting with fresh
blueberries and
topped with a delicious brown sugar and cinnamon flavored
streusel. more
A moist cake,
flavored with ground spices and chopped nuts, and topped
with a cream cheese frosting. The surprise ingredient is a
can of tomato soup.
more
This yeast
cake is wonderfully soft and fluffy. It is topped with
slices of apple, a drizzling of honey, a layer of cinnamon
brown sugar, and toasted pecans.
more
This cake has two layers of a
buttery rich sponge, sandwiched together with jam and whipped cream.
more
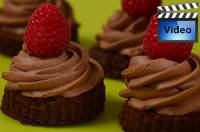
Each individual
Chocolate Mousse Cake takes a moist and dense flourless chocolate cake
and tops it with a pretty swirl of creamy smooth chocolate mousse.
Garnish with a bright red raspberry.
more
This cake
is delicious with its sweet and gooey brown sugar/pecan topping paired with
a wonderfully soft and moist butter cake.
more
A moist and tender cake
that is wonderfully light and spongy. Try covering it with a delicious
Marshmallow Frosting and toasted coconut. Yum.
more
This cake
has two layers, with each
layer having a golden brown meringue baked directly on top of a yellow
butter cake. Once baked and cooled the two layers are sandwiched
together with whipped cream and fresh strawberriesmore
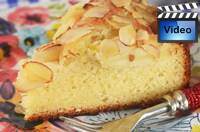
A wonderfully dense and moist cake that tastes of almonds, topped with
apple slices and shaved almonds.
more
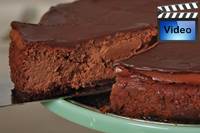
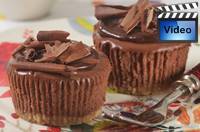
These cheesecakes start with a
Graham Cracker Crust, topped with a creamy chocolate cheesecake, and then a
layer of chocolate Ganache.
more
This delicious cake
alternates two layers of a moist vanilla flavored cake with two layers
of a crumb topping made with toasted pecans, brown and white sugars, and
ground cinnamon. more
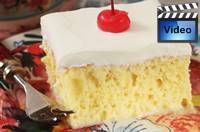
Also known as a
Three Milk Cake. This moist sponge cake is soaked with
a sauce made from whole milk, sweetened condensed milk and
evaporated milk and then topped with whipped cream.
more
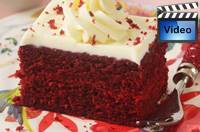
You'll love this
brightly colored butter cake that has a mild chocolate
flavor and is covered with a tangy cream cheese frosting.
more
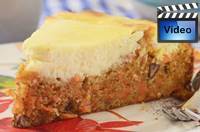
This two layer cake combines a
rich and moist spice cake, full of grated carrots and
chopped nuts, with a smooth and creamy cheesecake topping.
more
A soft and moist cake with a
rich chocolate flavor, covered with a creamy smooth chocolate frosting.
more
This Cake has a soft and fluffy texture plus it is wonderfully moist. Lemon
zest provides the lemon flavor in the cake and a lemon glaze is poured over
the baked cake to give more citrus flavor.
more
This cheesecake has a beautifully
caramelized outer crust. Yet
inside its wonderfully light and airy, almost
mousse-like in texture. more
This two layer cake combines a rich and
moist carrot cake, full of grated carrots and chopped nuts, with a smooth
and creamy cheesecake topping.
more
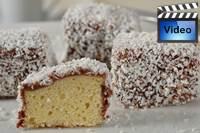
Lamingtons are very popular in Australia and consist of a small square
of white cake that is dipped in a sweet chocolate frosting and then
rolled in coconut. more
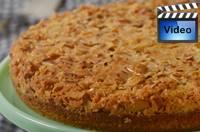
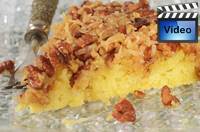
A moist and flavorful yogurt cake
that is topped with a layer of tangy sweet lemon curd and a crunchy pecan
streusel. more
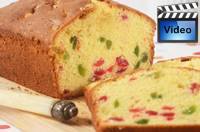
Full of red and
green candied cherries, this Cherry Pound Cake has a moist
and dense texture, a soft and tender crumb, and tastes
buttery sweet. more
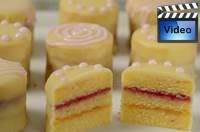
These cute Petit
Fours consist of three layers of Almond Cake sandwiched
together with a layer of apricot preserves and raspberry preserves. They are
then covered in a white
chocolate glaze. more
Cakes began in
ancient Egypt as
round, flat,
unleavened breads that
were cooked on a hot stone. Their evolution from crude cakes to what
we enjoy today was possible, over many centuries, through the introduction of
new ingredients and technology. The Egyptian's discovery and
subsequent skill at using natural yeast helped leaven those once flat cakes. When butter and eggs made their way into the cake dough, their consistency
became the precursor for today's cakes.
Cake making continued to improve especially with the new ingredients such as
chocolate and vanilla, and eventually sugar, that came to Europe with the
discovery of the New World.
By the 18th century cakes were beginning to
be made without yeast. Some yeast risen cakes survived, such as the
Alsatian Kugelhopf, but the new cakes got their lightness from beaten eggs. But not only did some recipes call for an astounding number of eggs (upwards of
30) but they required long hours of beating. Unfortunately, this
went on until technology caught up with the invention of baking soda (1840s)
followed closely by baking powder (1860s).The quality of baked
goods would continue to improve over time as
ingredients became more refined and of a consistent quality.
Many centuries would pass from the baking of
a cake on a hot stone to baking in a hot electric/gas oven. One step along
the way to the modern oven was the placement of an oven (box) inside the
fireplace that sometimes had a door. Obviously it was quite an art to
control the temperature and items were placed in the oven according to their
baking times. Even the early replicas of modern ovens we have today did
not have temperature controls. Some women as late as the early 1900s were
still measuring an oven's temperature by sticking a piece of paper into the oven
and waiting to see how long it took to brown. Or worse yet, they stuck
their hand in the hot oven judging the temperature by how long they could leave
their hand in the oven.
The lines between a bread and a cake
were once almost indistinguishable. The main difference was their shape
and that cakes had a sweetener, usually honey. But over time their
differences grew to the point where bread remains a staple food and cakes are
now considered desserts .........More on Cake Making
Use of materials on
all pages on the domains Joyofbaking.com,
the Joyofbaking.com Facebook
Page, the
Joyofbaking1 YouTube
Channel and any emails sent from @joyofbaking.com
are
entirely at the risk of the user and their owner, iFood Media LLC
will not be responsible for any damages directly or indirectly resulting
from the use.
References
cited may include a link to purchase the referenced book or item on Amazon.com.
Joyofbaking.com receives a commission on any purchases resulting from these
links.
This
website and the contents are not endorsed or sponsored by the owner of the
"Joy of Cooking" series of books or its publisher Simon & Schuster, Inc.
and is not related to the "Joy the Baker" books and website.
Video icons by Asher.
Content in any form may
not be copied or used without written permission of Stephanie Jaworski,
Joyofbaking.com. Students and non profit educators may use content without
permission with proper credit.